1. How to get started#
The PAM-Toolkit is built using the Python programming language (see Python documentation for general info and how to get started) and is stored in a GitHub repository.
Additionally, the PAM-Toolkit analyses are presented here using Jupyter notebooks, interactive computational documents used for configuring and streamlining data-science workflows and sharing codes.
GitHub is a platform that enables users to develop, store, manage their code, Its versatility lies in the fact that it allows the sharing of code between users, as well as the simultaneous development of projects by working on local copies (clones) of the repository. To have access to this repository and its content, it is not necessary to have a GitHub account, unless active modifications are wanted to be made.
In this case, please refer to the GitHub documentation about how to get started.
To run the notebooks and start performing the analyses, the following prerequisites are needed and recommended:
Conda package manager#
For a structured and tidy organization of the software requirements, the intallation of minicoda (Anaconda is heavier) is recommended.
Please follow the following instructions: How to install miniconda.
Conda allows to create virtual environments within which it is possible to manage packages and libraries by efficiently handling and resolving dependencies (i.e. packages that are the building blocks of other packages) in Linux, Windows and MacOS. Given that the PAM-Toolkit has been tested using a Linux platform, a Linux environment is recommended to exploit the full potential of the package (Windows users can install a Linux Subsystem following here). However, 95% of the functionalities are also working on Windows platforms, therefore a Windows conda also serves its purpose.
The following conda virtual environment is provided for both Linux and Windows users:
environment.yml
After the conda installation, create an environment from the environment.yml file by running on the computer terminal:
$ conda env create -f environment.yml
At this point, a virtual environment called pam_tool has been created, activate it with:
$ conda activate pam_tool
By following these two steps, it is possible to overcome the ex-novo installation of several Python libraries that are needed to perform the analyses. A complete list of those can be viewed with:
$ conda list
Please refer to the Conda User Guide for a comprehensive list of commands.
Jupyter IDE#
Before running Jupyter Notebooks, an interface is needed. Having the environment.yml already installed Jupyter, the easiest way to start a Jupyter server is typing in the terminal:
$ jupyter notebook
This will open a Notebook Dashboard in your web browser \
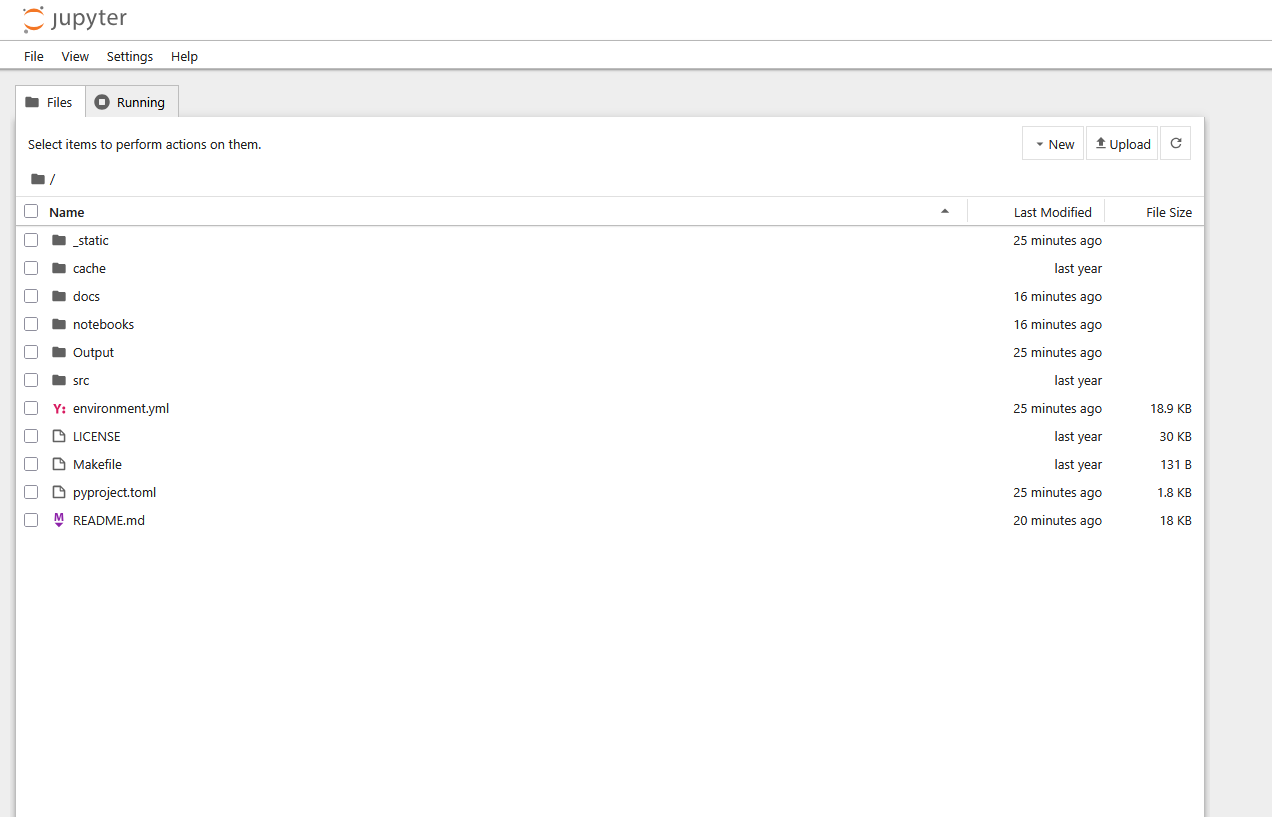
Using this dashboard, you’ll be able to navigate and open notebook files (.ipynb) in the same way as on your local machine.
Additional libraries#
Some libraries used in this project are not yet available on conda, therefore it is needed to manually download and store them within a “repos” folder inside your local “Health-Access-Metrics” repository.
The following have to be downloaded from their GitHub repositories:
GOSTnets is a library useful for networkX analyses developed by GOST Team at The World Bank. It is used for vector-based accessibility studies, in particular harnessing OpenStreeMaps (OSM).
GostnetsRaster is the raster-based version of the GOSTnets library, used with travel time or friction surfaces.
GOSTrocks containing general useful functions and tools for working with geospatial data.
GOSTUrban focusing on urban studies.
INFRA_SAP containing miscellaneous functions .